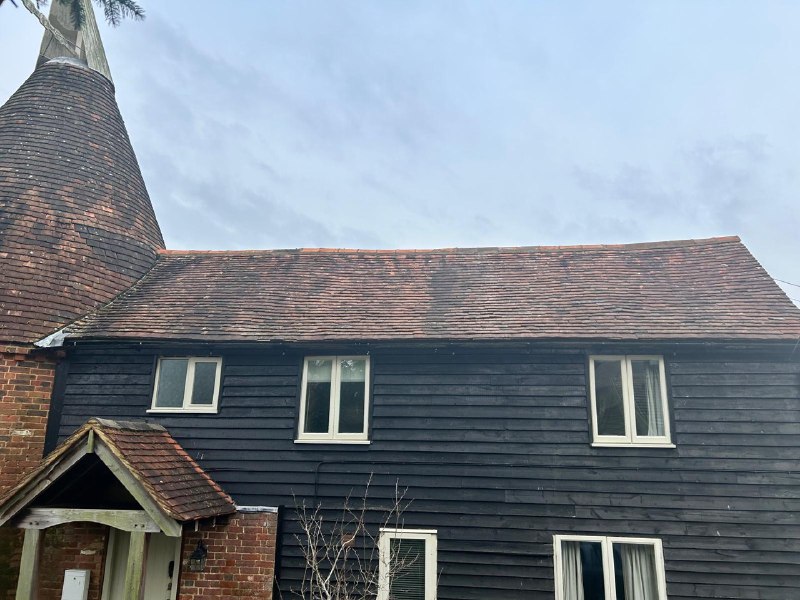
Introduction: Discovering a slipped tile on your roof can be concerning, as it poses a risk of water infiltration and damage to your home. However, taking prompt action to address the issue can help prevent further damage and ensure the integrity of your roof. In this blog post, we’ll outline the essential steps homeowners should take when they discover a slipped tile on their roof, guiding them through identifying, assessing, and addressing the problem effectively.
- Visual Inspection:
- Start by visually inspecting your roof from ground level using binoculars or a camera with zoom capabilities. Look for any signs of displaced or missing tiles, focusing on areas where tiles are most vulnerable to displacement, such as valleys, ridges, and eaves.
- Safely Access the Roof:
- If you’re comfortable and confident in your ability to safely access the roof, carefully climb onto the roof using a sturdy ladder placed on stable ground. Ascend the ladder slowly and cautiously, ensuring three points of contact at all times.
- Assess the Damage:
- Once on the roof, carefully inspect where the slipped tile is located. Assess the extent of the damage and determine whether any adjacent tiles are also affected or at risk of displacement. Note any visible cracks, damage to the tile, or underlying roofing materials.
- Secure Loose Tiles:
- If the slipped tile is still intact and undamaged, carefully reposition it back into place using gentle pressure. Ensure the tile is properly aligned and flush with adjacent tiles to prevent further displacement. If necessary, use roofing adhesive or caulking to secure the tile in place.
- Replace Damaged Tiles:
- If the slipped tile is damaged or cannot be repositioned securely, it may need to be replaced. Carefully remove the damaged tile using a pry bar or similar tool, not damaging surrounding tiles or roofing materials. Install a new tile in its place, ensuring proper alignment and attachment according to manufacturer guidelines.
- Seal Gaps and Joints:
- After repositioning or replacing the slipped tile, inspect the surrounding area for any gaps, joints, or seams that may compromise the roof’s integrity. Seal gaps or joints with roofing sealant or caulking to prevent water infiltration and ensure a watertight seal.
- Conduct a Final Inspection:
- Once the repair is complete, conduct a final inspection of the repaired area to ensure that the slipped tile is securely in place and that all gaps and joints are properly sealed. Check for any signs of damage or deterioration that may require further attention.
- Schedule Professional Inspection:
- If you’re unsure about addressing the slipped tile yourself or encounter significant damage during the repair process, consider scheduling a professional inspection and repair service with Cotgrave Roofing Repairs. A qualified roofing contractor can assess the situation, provide expert guidance, and perform any necessary repairs to restore the integrity of your roof.
Conclusion: Discovering a slipped tile on your roof may seem daunting, but by following these essential steps, homeowners can effectively address the issue and prevent further damage to their homes. Prompt action, careful assessment, and proper repair techniques are key to maintaining the integrity and longevity of your roof.
Call us on: 0115 647 1193
Click here to find out more about Cotgrave Roofing Repairs
Click here to complete our contact form and see how we can help with your roofing needs

